Finding Colours - Part 1: This should be easy...right?
During the interview for my current previous job, I was given a small pair-programming coding challenge to complete. Like all good coding challenges, it was probably beyond what could reasonably have been finished in an hour but it was fun and I got the job so my attempt couldn’t have been too bad. Not finishing the challenge did annoy me though so here’s my attempt at a more polished version of the challenge.
Update: Yes I know I’m mixing “colour” and “color” in this post, too much code writing over the years has warped my brain with American spellings :P I’ll try and keep it to “colour” in copy and “color” in code from now on.
Update 2: Somehow it escaped my notice that OffscreenCanvas in the way I’m using it here isn’t compatible with either Firefox or Safari browsers! The correction can be found in this Gist, serves me right for not checking the compatibility table at the bottom of each MDN page1 :D
The Challenge
The challenge itself was worded something along the lines of “Load an image and find the top n colours used in it” (side note there are problems with this but we’ll get to that in part 2). I’m going to extend this slightly with some requirements of my own because there are a few things I don’t know how to do but want to learn.
I’m going to build a site with a dropzone I can drag an image into, at which point the process loop will take over, bring me back the dominant colours (have you spotted the problem yet?) from the image and display them to the user along with the dropped image.
Challenge 1: The dropzone
This part is pretty easy, we just need to hook into a drop event and retrieve the file dropped.
Side note: For the code examples I’m going to be showing stripped down versions of the HTML without most of the structural elements or styling information. If you’re interesting in seeing this you can have a look at the github repository for this project Image-Colours.
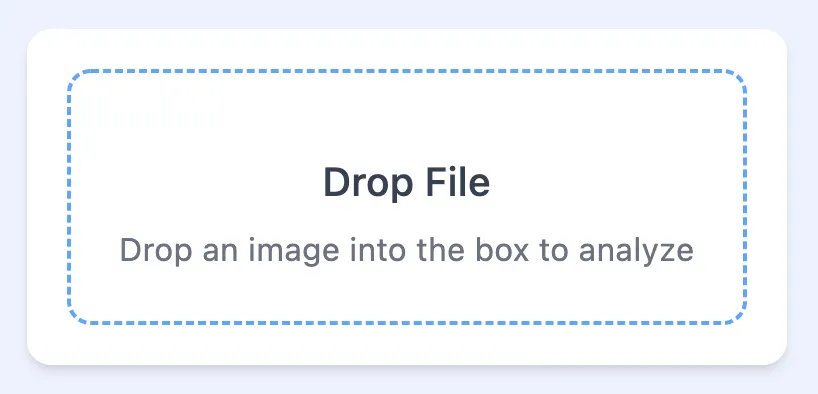
<img id="image-display" src="" /><div id="swatches"></div><div id="drop-zone" ondrop="dropHandler(event);"> <h2>Drop Here</h2> <p>Drop an image into the box to analyze</p></div>This is all pretty simple, we have an img element with no pre-defined src attribute where our image will be shown to the user, an empty div that we’ll add a list of our colours and a final div that’ll act as our drop zone. I’ll pretty it up with some styling and it’ll look like the image below.
Let’s have a look at the javascript, again I’m not going to do anything fancy here just bung a script tag at the bottom of the screen with the following code that’ll display the image we’ve dropped into our empty img tag:
<script type="text/javascript"> function dropHandler(e) { e.preventDefault();
if (e.dataTransfer.items) { if (e.dataTransfer.items[0].kind === 'file') { const file = e.dataTransfer.items[0].getAsFile(); const output = document.getElementById('image-display'); output.src = URL.createObjectURL(file); } } }</script>Not much to see here, when a file is dropped onto our dropzone on the page we get this handler function called. I’ll go through what we’re doing here.
e.preventDefault()Most browsers, when an image is dropped into them will display that image, we kill this event here to stop it from propagating and triggering this behaviour.- The drag event gives us a DataTransfer object which contains a
DataTransferListobject, of the items being dragged in. We check if the first one of these is a file before continuing, I could also check thetypeproperty here to make sure it’s actually an image but I’m lazy and don’t really care if people try and drop something other than images. getAsFile()method unsurprisingly gives us aFileobject.- Which, finally we can create a URL for, and pass this to our
imgelement displaying the image to the user
Accessing the image bitmap
So here’s the plan. We have our image loaded now, we should iterate over it one pixel at a time, get that pixel’s colour and take note, then add a +1 to a count for this particular colour every time another pixel with that colour is found.
The file object doesn’t give me a way of accessing the image pixels directly, but I can create a bitmap from this file and render it to a canvas which I can then pull the raw image data from:
createImageBitmap(file) .then(ibm => { const canvas = new OffscreenCanvas(ibm.width, ibm.height); const ctx = canvas.getContext('2d'); ctx.drawImage(ibm, 0, 0);
const imageData = ctx.getImageData(0, 0, ibm.width, ibm.height).data;
// remaining code goes here});This process returns a Promise so we do all the fun stuff in the resolution. I don’t want to display the canvas on the page so using OffscreenCanvas is a good solution as it exists only in memory and doesn’t require a target HTML element. Handily having the ImageBitmap object gives us the needed width and height properties so we know what size to make the canvas.
The OffscreenCanvas1 won’t in itself provide any major performance benefits over it’s regular counterpart, however it does give one major benefit, that the code can be moved into a web worker, this will allow expensive operations to be run in the background and not block the main thread. We wont be using this just yet but it’s a nice feature.
We’re working in a 2d context here rather than a 3d one so the first step is to retrieve that, and then we render our image into it, we use the whole image here so no need to specify the last 2 arguments of drawImage. In the final step here, we retrieve the image data back from the canvas starting at coordinates (0, 0) end ending at the width and height of the image so we get every pixel. The returned ImageData object contains an Unsigned-8 clamped array that contains the channel data for every pixel in the image in RGBA format, that is every 4 integers represents the channel information for one pixel in the image (Red, Green, Blue, Alpha) limited to the maximum value for an unsigned 8 int (255).
For example, imagine an image where every pixel alternates between pure white and pure black, the ImageData array for the first 4 pixels would look like this:
pixel 1 pixel 2 pixel 3 pixel 4|---------------|---------------|---------------|---------------||255|255|255|255| 0 | 0 | 0 |255|255|255|255|255| 0 | 0 | 0 |255||---------------|---------------|---------------|---------------| #FFFFFFFF #000000FF #FFFFFFFF #000000FFThe middle row above shows the 16 entries of the array, above them, are the individual pixel delimiters and below the HEX representation of the colours.
What We’ll do now is consolidate these pixels into an array taking just the colour:
const pixelColors = [];
for (i = 0; i < imageData.length; i += 4) { pixelColors.push([ '#', (imageData[i]).toString(16).padStart(2, '0'), (imageData[i+1]).toString(16).padStart(2, '0'), (imageData[i+2]).toString(16).padStart(2, '0'), ].join(''));}So we create a new array that will hold one string of the HEX colour for every pixel in the image. We then iterate over the imageData array jumping 4 at a time so we get the index of the red channel for every pixel in each iteration.
On each of these iterations then we do a push to our pixelColours array with the following:
- the
#character to denote the string we’ll be creating as a HEX value - we take the integer from the image data and transform it to HEX with
toString(16)we then usepadString(2, '0')to ensure we always have 2 digits as this would cause incorrect colours if we return single characters for low channel values. - Finally, we just join these individual entries into a single string
Let’s try running what we have so far and try giving it a simple test image.

This is a pretty basic 100x100px image with some nice distinct colour blocks on a white background.
Let’s run this in and take a look at a random section of the array.
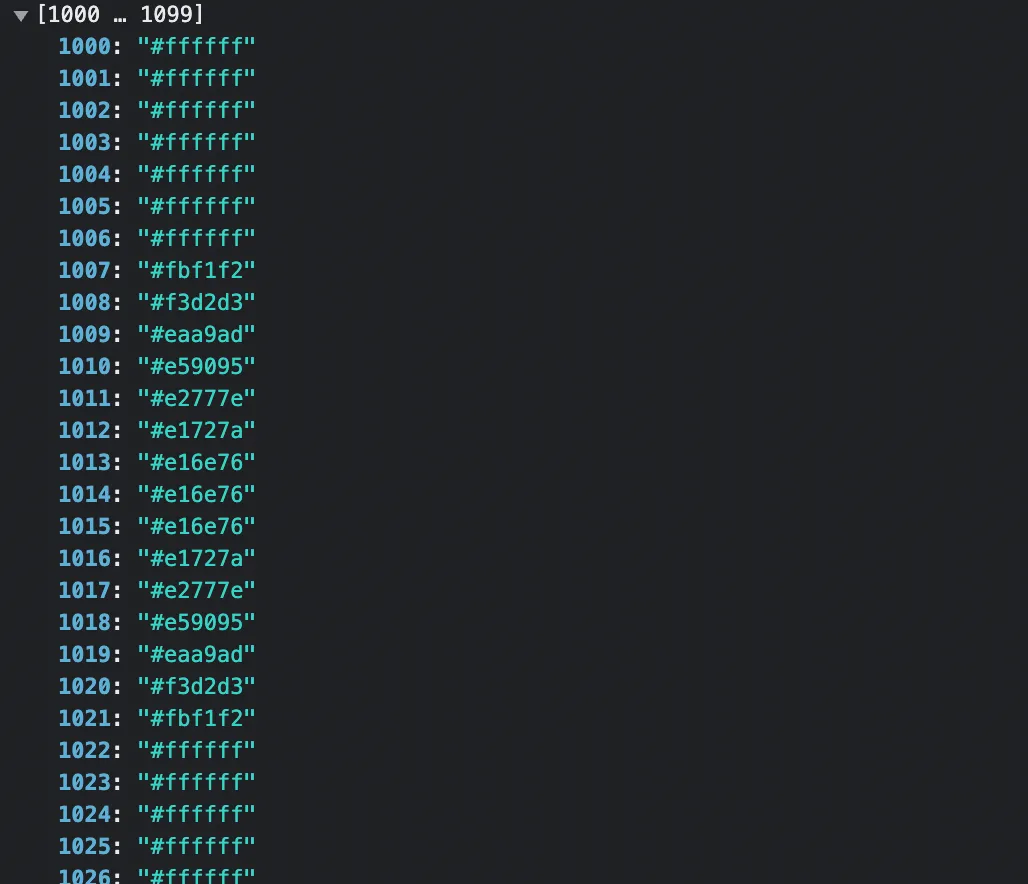
This looks good so far, we appear to be generating the array correctly, now let’s look at rolling up this array into only unique colours with their associated counts.
Counting up and displaying
const colorCount = pixelColors.reduce((prev, curr) => { prev[curr] = prev[curr] ? ++prev[curr] : 1; return prev;}, {});
const sorted = Object.entries(colorCount) .sort((a, b) => { return b[1] - a[1];});
const top = sorted.slice(0, 8);Ok so what we’re doing here is:
- run a reducer over our array that turns it into an object whose keys are the unique colours, with a value of the number of times this pixel colour occurred.
- take the
Object.entrieskey/value pair array for this object and sort it by the value. - grab a slice of the first 8 elements to give us the top 8 pixel colours.
There’s no real reason behind taking 8 colours, take however many you want, it just looks good in the UI I’ve built :)
const swatches = document.getElementById('swatches');swatches.textContent = '';
for (i = 0; i < top.length; i++){ let swatch = document.createElement('span'); const color = document.createTextNode(top[i][0]); swatch.appendChild(color); swatch.style.backgroundColor = top[i][0];
swatches.appendChild(swatch);}Ok, what we’re doing now is pulling out or swatches div we created earlier in the HTML and clearing it of any current nodes (using .textContent can be slightly quicker as it skips the node parsing that setting innerHTML would trigger).
For each of our colours, we create a new span element and create a text node with our colour in it. We append this text node to the span and then set the span’s background colour to our found pixel colour. Finally, we add this to the swatches div and we’re done.
So let’s give it a try, I’ll use the image above and drop it into our dropzone, let’s see how this looks.
So job done, right?
Well, it’s all looking good so far but let’s try a more complex image…
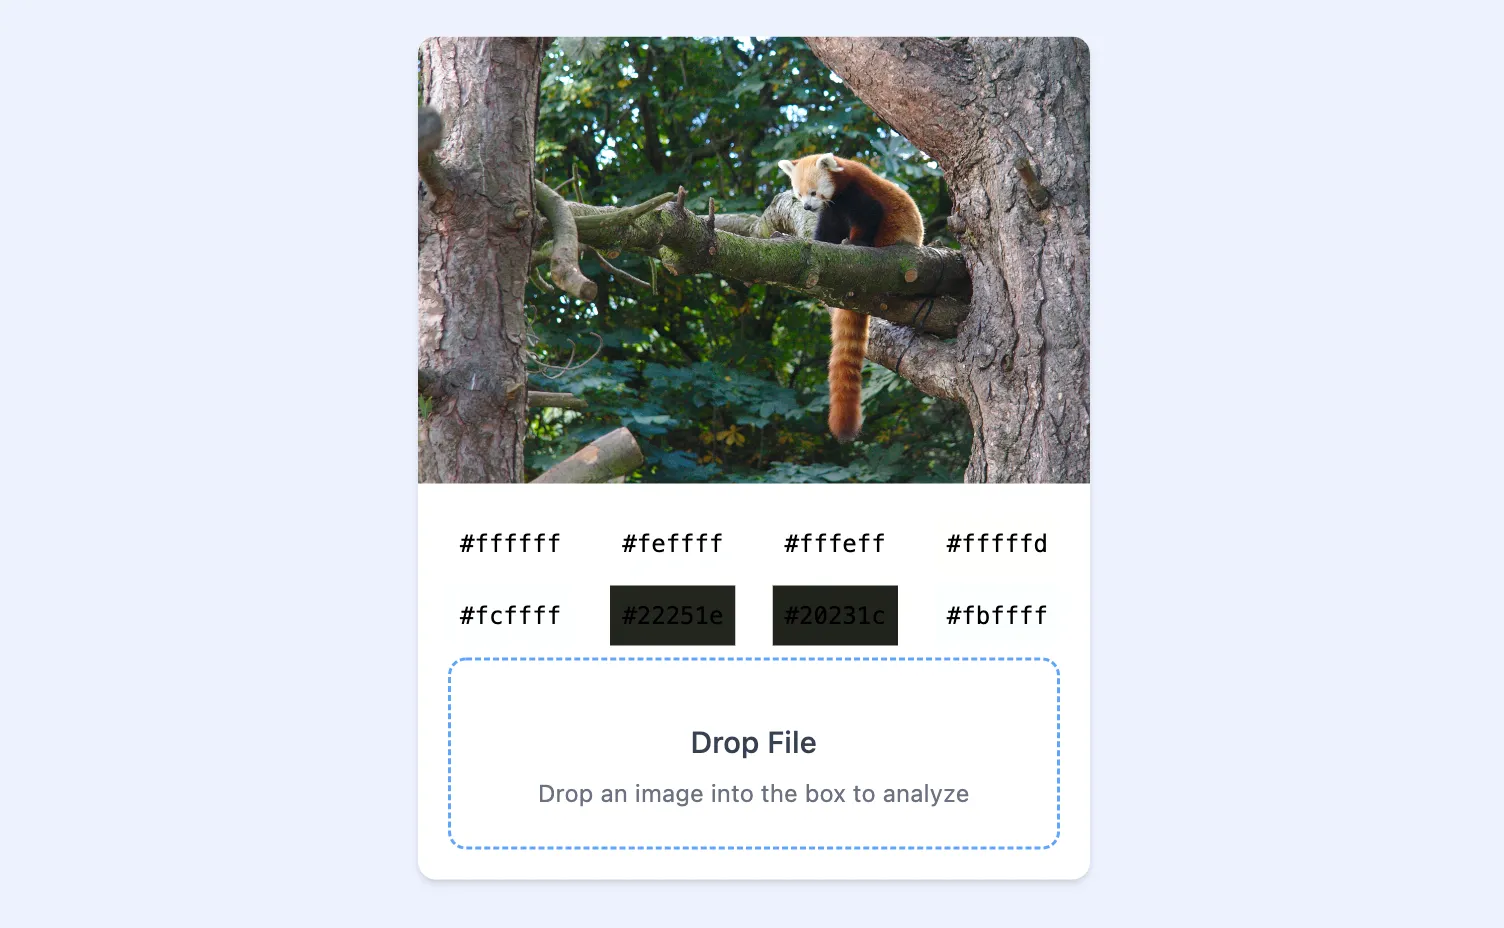
Hmmm, that doesn’t look right. We have a couple of dark greens there, but where’s the brown of the trees or the red from the panda?
let me expand the number of swatches brought back and created:
// edit the 8 in our slice call to pull back more entriesconst top = sorted.slice(0, 8);const top = sorted.slice(0, 24);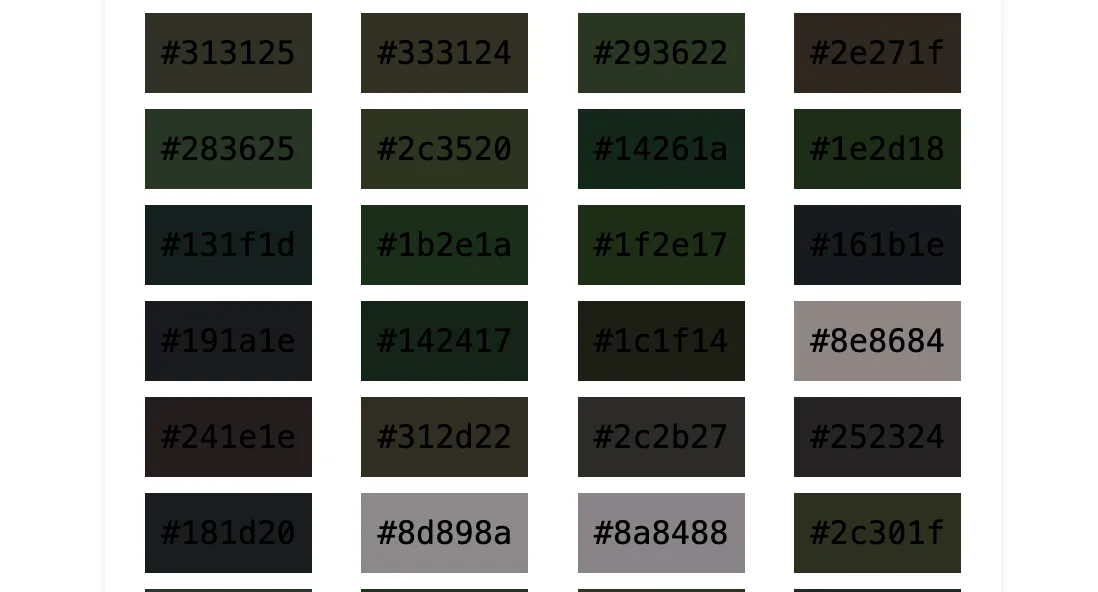
So this looks ok but we’ve found the problem I hinted at earlier; There are so many colours in this image and we’re not doing anything to group them so what we end up doing is missing out on what we as humans would consider predominant colours.
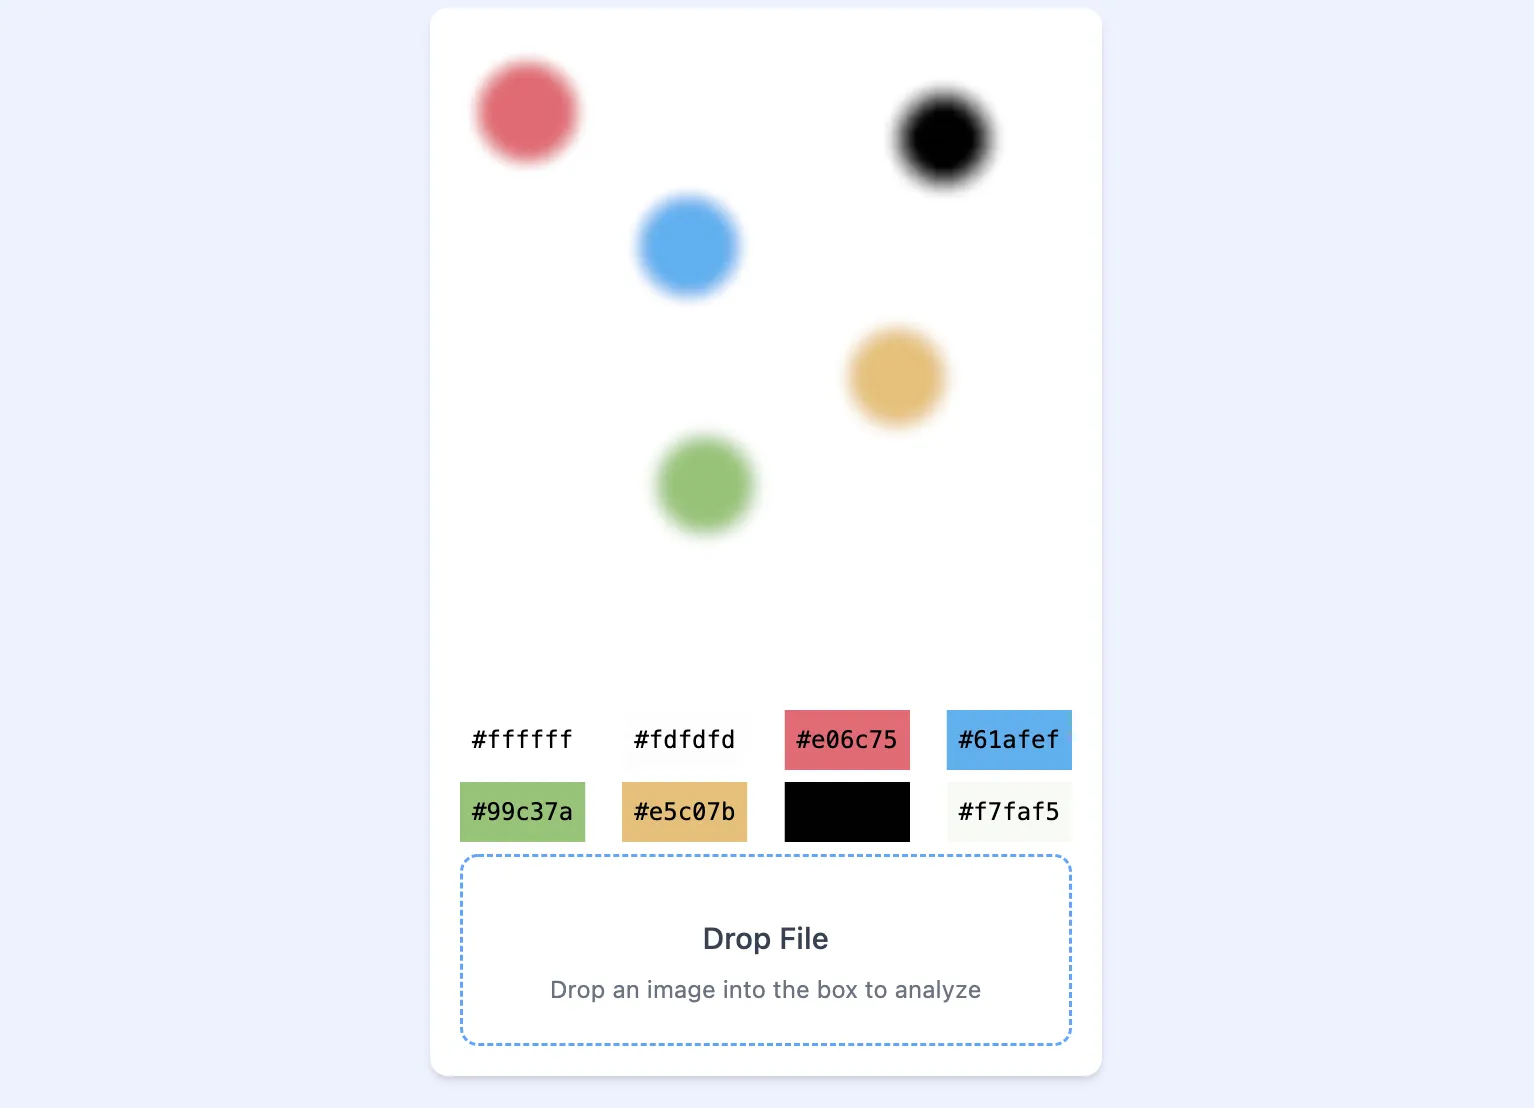
Let’s use a simpler image to demonstrate this.
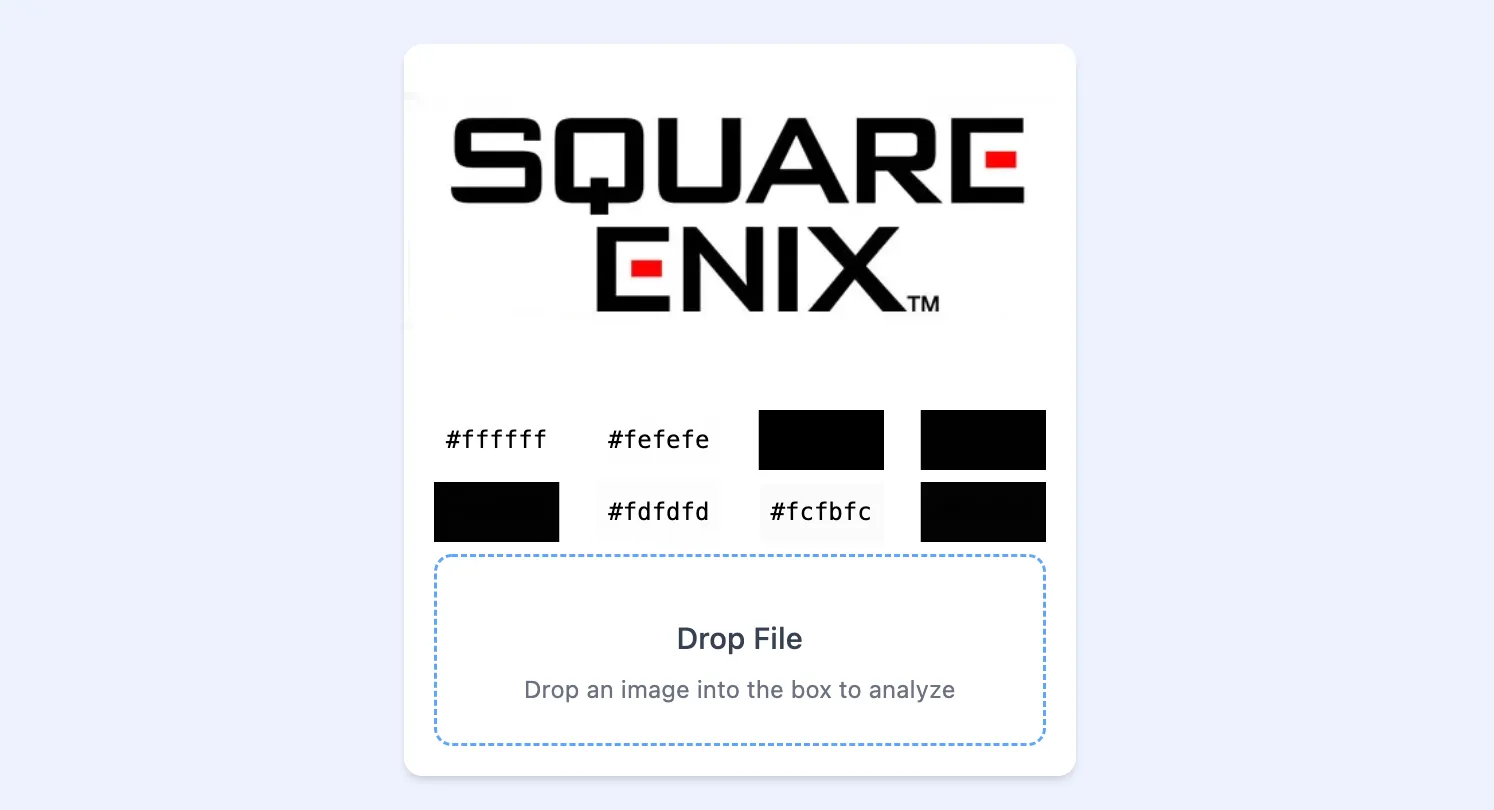
If you asked someone to look at the image above and asked them, “what are the main colours here?”, the answer you’d expect would be “white, black, and red” the problem we have is that there are so many tiny variations in our white and black that the reds get pushed so far down our sorted list that we won’t see them.
So what’s the solution? Well, we’ll get to that in part 2 of this series, stay tuned for that :D